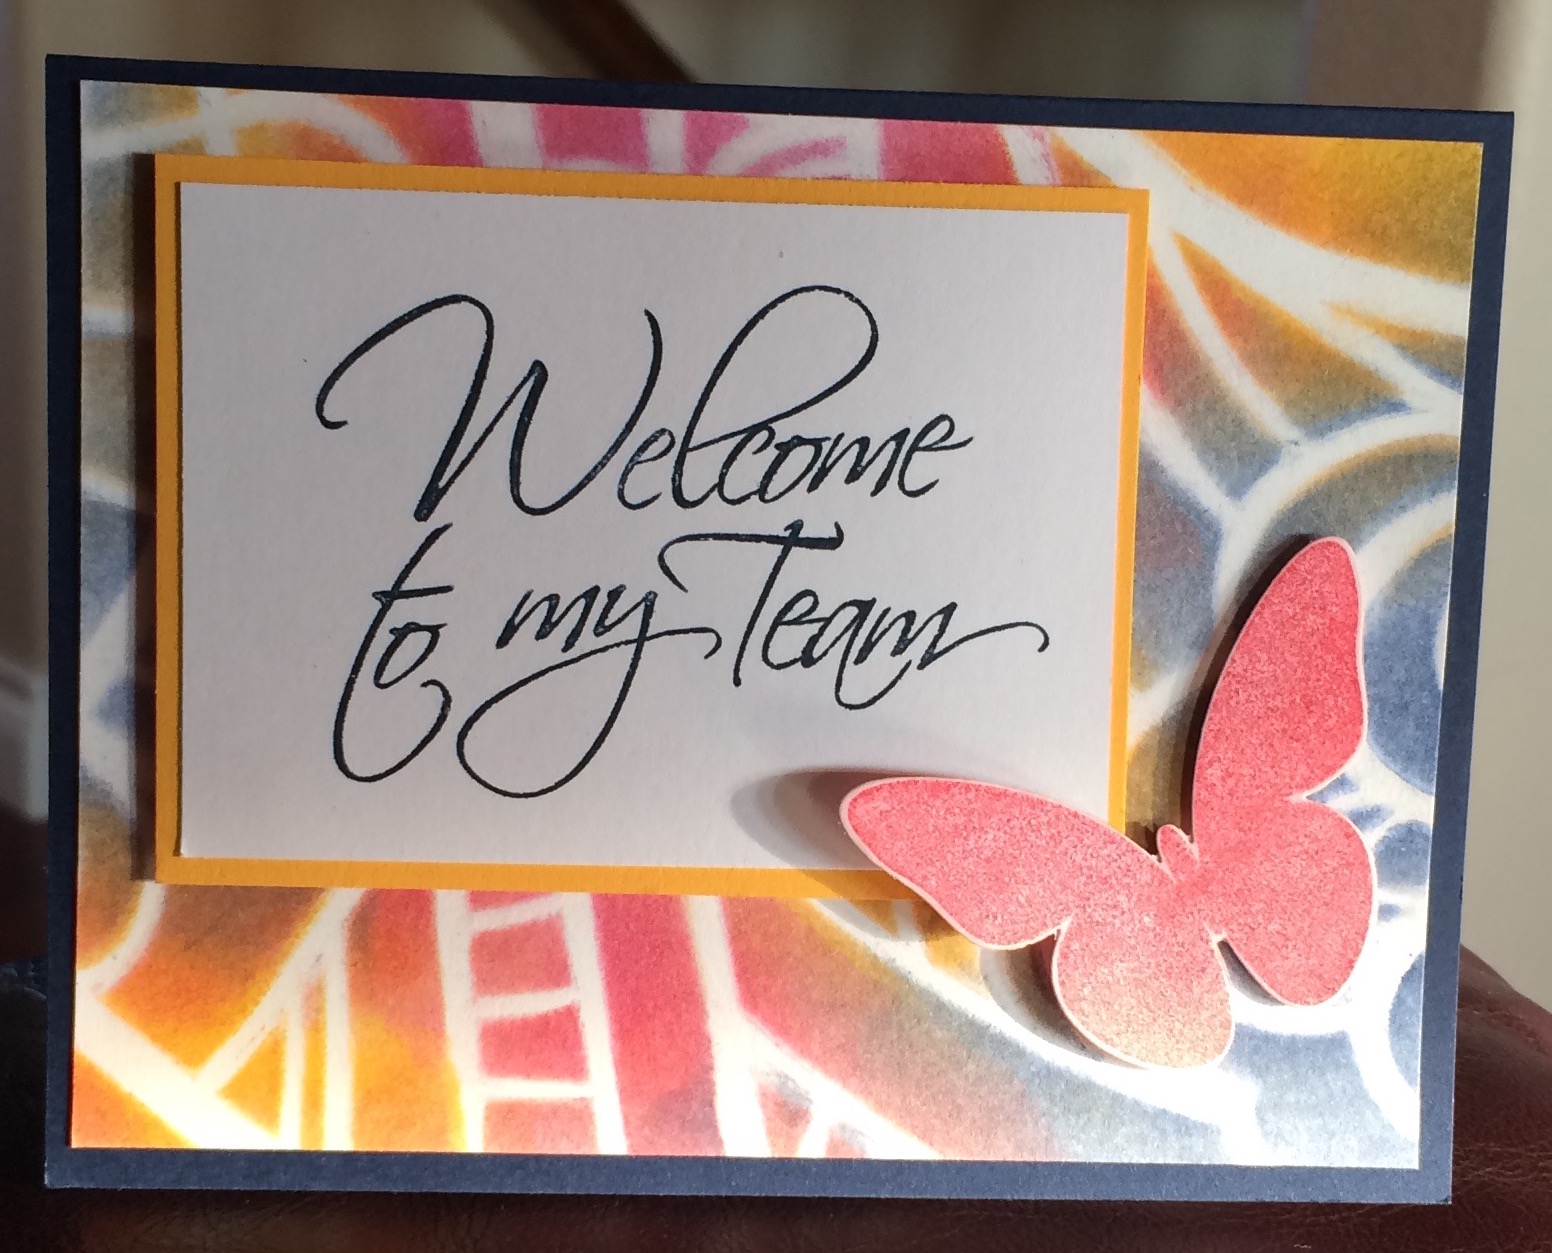
Oh my - I just realized how the last couple of weeks have flown past, and here it is, AUGUST! I have so many items on my "To Do" list, and I don't seem to be getting any of them done! Summer is a time for relaxation and friends, so much of that list will have to take a back seat for now, but I really need to think about my August class. I found some time yesterday to do a little stamping, and came up with this. Not sure it will make the cut for the class (might be too time-consuming), but I like it anyway. I used PanPastels on the background, and colored the back of vellum for the butterfly wings. (The butterfly die is not FSJ - not sure what company makes it.)

We were blessed to have a quick visit from my cousin and her daughter from Wisconsin this past weekend. My mom came out also, so our time was spent eating and visiting, of course.

The weeds continue to grow no matter what I do to discourage them, so I need to get out and spend some time on my knees in the dirt...an enjoyable activity early in the morning before it gets too hot. Still no tomatoes or peppers, but we planted late this year. The plants themselves are looking good.
We have a new fawn. Five or six deer visit our "pond" (just a garbage can lid I keep filled with water) a few times a day. Last night we sat on the deck watching the baby tentatively exploring the back yard.

Speaking of the deck, we finished the last railing on the new extension. The only thing left to do on that project is to install the step.

And...I'm really excited to have my FIRST Fun Stampers Journey recruit! Deb Muniz joined FSJ in July. I'll be sending this card her way later today. Welcome to the journey, Deb!