

1. Draw around the image with a pencil:


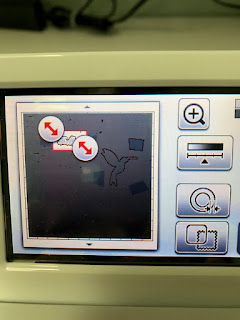
2. Scan to Direct Cut, using the Black/White setting. Frame the scanned image with the arrows.


3. Click on the double circle tool (offset??). Adjust the border to a negative number. I used -0.02 and -0.03. By using a negative border, the image should cut INSIDE the pencil line so you don't have to erase it.


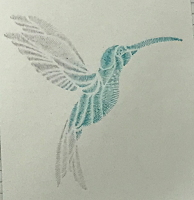
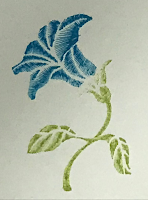
4. Cut the image - erase any stray pencil lines that are left. Here are the results from the three images I tried. With a -0.03 border, the pencil line is removed when the image is cut.


Other methods involve tracing the outline on an acetate sheet, but this pencil-outline method is quick and easy.

No comments:
Post a Comment